


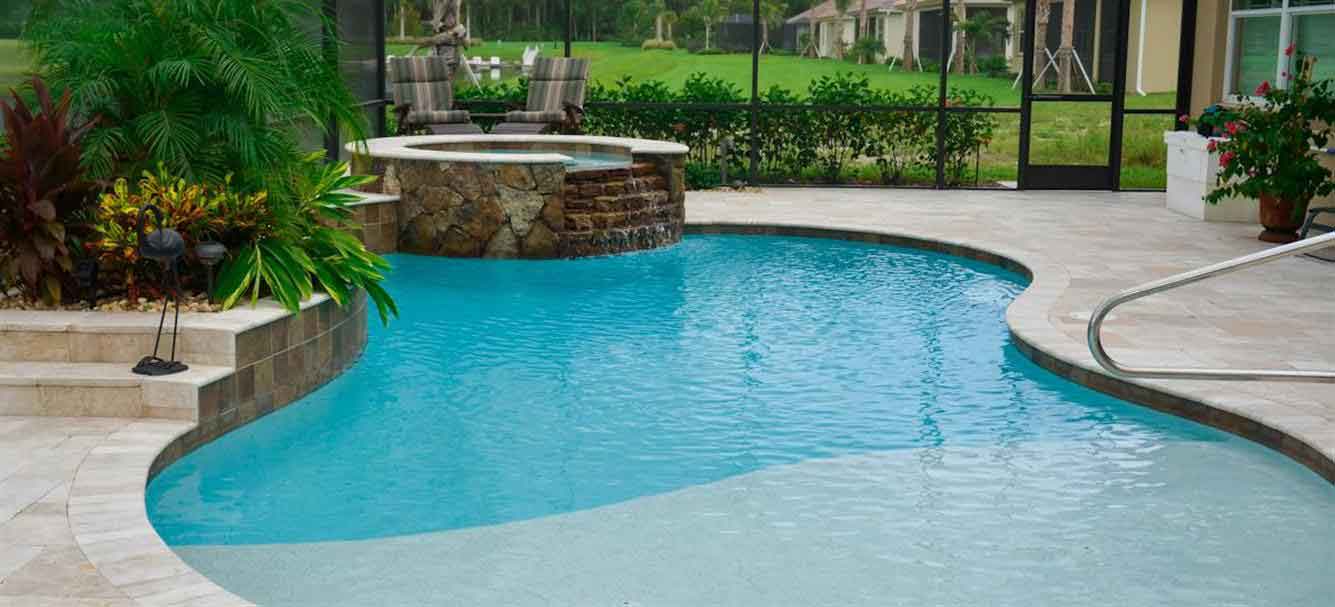
For pool construction, after excavation and the application of blinding concrete (a cementitious layer used to create a smooth surface for reinforcement), the floor and walls of the pool are reinforced. Additionally, before pouring the floor concrete, a WS30 water stop strip is used vertically along the edges of the walls to prevent water leakage at the junction between the floor and walls.
To enhance the bond strength between concrete components, it is recommended to use N50 adhesive and additives in the concrete mix design to increase its strength and reduce permeability. This product contributes to extending the service life of the pool and improves its durability during freeze-thaw cycles.
Traditional pool construction using adhesive and N50 concrete additives:
After excavation and the application of a blinding concrete layer (a cementitious coating used to level the soil at the bottom of the excavation), reinforcement for the pool floor is carried out. In this method, the floor reinforcement can be executed as single-strand (mesh) installation. Furthermore, one of the very important points in pool construction is that the concrete pouring for the floor should occur before the wall partitioning is done.
The mix ratio of adhesive and additives for N50 concrete.
Mortar: The mix ratio is 1 to 5 with water. (For cost-effectiveness, this ratio can be increased up to 1 to 10.)
Hand Mixer: The mix ratio is 1 to 10 with water. (In projects where economic efficiency is crucial, this ratio can be increased up to 1 to 20.)
The use of N50 adhesive and additives in concrete pouring for flooring and plastering walls enhances the adhesive properties of the concrete and mortar, increases strength, reduces permeability, and improves the resistance of the pool against freeze-thaw cycles. Additionally, in structures like pools where the formwork serves as the supporting surface for the insulation layer, it significantly contributes to extending the service life of the structure.
Smoothing of the under-construction swimming pool with adhesive and B70 mortar additive along with SI30 silica:
If a pool is constructed traditionally, the plaster mortar surfaces of the walls must be smoothed before waterproofing due to their high porosity. To smooth the walls, one part of adhesive and B70 mortar additive is mixed with three parts of water. By adding cement and sieved stone powder or silica SI30 (as a substitute for stone powder), we create a smoothing mortar, which is used to fill fine pores and hairline cracks in the structure.
For pools made of reinforced concrete, smoothing is performed with the aforementioned slurry to prevent peeling of the walls and floor due to the polished concrete surfaces.
Before applying the smoothing mortar or slurry, it is essential to spray water on the concrete and mortar surfaces to prevent rapid absorption of their moisture. After the smoothing mortar or slurry dries, spraying water on the surfaces prevents shrinkage and cracking.
Using Z90 waterproofing adhesive and resin as a final topcoat on concrete and mortar eliminates the risk of peeling and separation of the insulation from the pool structure. This product is also highly resistant to UV rays and can withstand temperature fluctuations from -75°C to +350°C.
For applying the insulation layer: In the first step, Z90 waterproofing adhesive and resin are mixed with water in a one-to-one ratio, and the resulting solution is applied to the surfaces using a brush or spray gun in two coats, allowing for drying time between applications.
In the second step, Z90 waterproofing adhesive and resin are prepared separately, and one part of cement is combined with two parts of sieved stone powder (silica SI30 as a substitute) separately. The slurry obtained from mixing the liquid and powder phases is applied in two coats with drying intervals between each coat.
It is noteworthy that to prevent cutting and cracking of the applied insulation, PLC mesh can be used between two coats of slurry at corners and joints subjected to water pressure and structural vibrations.
Finally, for the third step, we repeat the first step.
Note: The drying time for the main insulation layer of the pool ranges from 5 to 12 days, which may vary depending on weather conditions.
Repairing and Waterproofing the Swimming Pool with a Final Coating Finish:
After draining the water, clean the pool surfaces from loose, damaged areas and old paint, and open structural cracks in a V-shape.
First, dilute one part of N50 concrete adhesive and additive with two parts of water, then apply the solution onto the cleaned areas using a brush. Next, separately mix one part of cement with two parts of sieved stone powder (with silica SI30 as a substitute for stone powder). In the next step, add the powdered mixture to the pre-prepared solution and repair the affected areas with the created repair mortar.
The main waterproofing layer is applied using Z90 sealing adhesive and resin, following these steps:
- Combine Z90 sealing adhesive and resin with water in a one-to-one ratio, applying the resulting solution in two coats with drying time between applications on the surfaces.
- Combine Z90 sealing adhesive and resin separately with water and mix one part of cement with two parts of sieved stone powder (or silica SI30). Apply the slurry obtained from mixing the powdered component and solution in two coats with drying time between applications on the surfaces.
- Repeat step one.
Note: If a colored layer is requested, at the final stage after mixing Z90 sealing adhesive and resin in a one-to-one ratio with water, add three cups of acrylic paint and apply it in two coats with drying time between applications on the surfaces.
Repairing and waterproofing the pool with a final tile surface (non-destructive):
When it comes to waterproofing a swimming pool with a final tile surface, the structural integrity of the pool is a critical factor. The primary condition for effective waterproofing is ensuring that there are no cracks in the pool’s shell. Typically, pools that have developed cracks can leak over 10 centimeters of water per day. If such significant leakage is observed, the only viable solution is to remove the tiles.
In cases of minor water leakage, first clean the interior surfaces of the pool using a diluted hydrochloric acid solution with a brush. Additionally, for removing loose grout, you may use wire brushes. After thoroughly rinsing the walls and floor of the pool and allowing the grout surfaces to dry, in the first step, mix the waterproof adhesive and resin Z90 in a one-to-one with water. Apply this mixture onto the grout lines using a narrow brush. If the tiles are smaller in size, you can also apply the mixture with a brush over all surfaces. After about 10 minutes, when the product has absorbed into the grout lines, wipe off any remaining solution on the tile surfaces with a cleaning cloth.